This article is based on a now deleted thread I posted in 2025.
In 2025 Apple released iOS 26 and their liquid glass design language. Many people compared this design language to Frutiger Aero because of its heavy use of real time liquid and distortion effects. In this article I will show you how I created a similar real time distortion effect in Godot; and explain the theory used to create this effect. So you better understand how to apply real time distortion in any rendering system.
Theory
The basic idea behind any kind of real time distortion is that you need to separate the elements into 3 groups.
Foreground: Everything in front of the distorting element. Lens: The element creating the distortion effect. Background: Everything behind the distorting element.
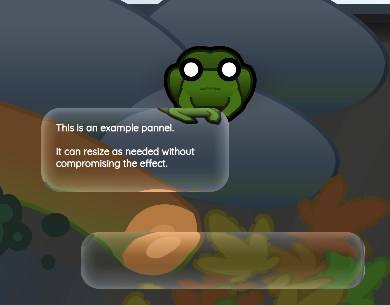
Distortion effect applied to a PanelContainer
In this example I am using Godot so we can use screen texture as our background layer; because it will contain all the elements bellow the current element. Our current element is therefor the lens. We can ignore foreground in this case because Godot will also be handling our compositing.
If we where assembling this effect in a more standard 3D derived pipeline we would have to set up multiple render passes to correctly produce the effect.
Once we have our background and lens elements we need to render our background onto our lens so that it appears transparent. We start by grabbing the lenses position and size as it overlaps with the background. we can then use this information to sample the colour of our background at any given position inside our lens element.
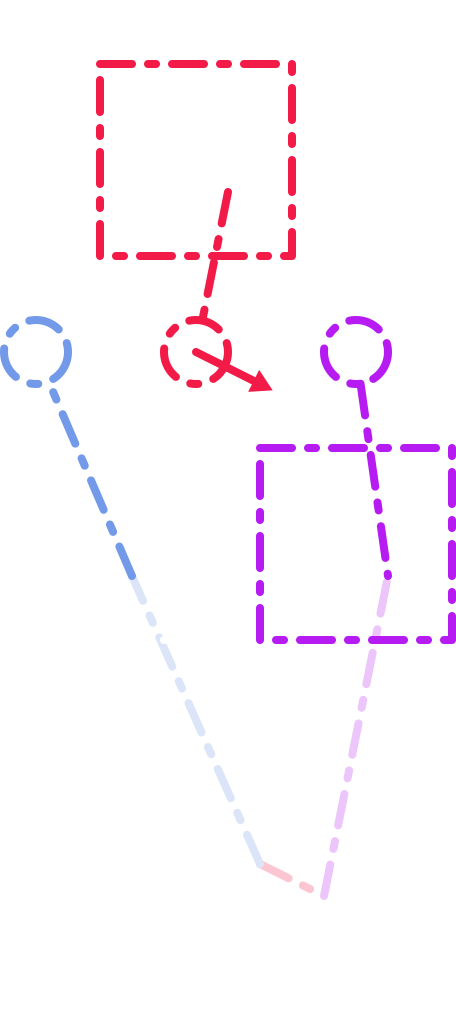
In the diagram on the right I am representing an arbitrary position inside the lens element as the blue point. In order to create the effect that light is bending as it passes through our imaginary lens we need a distortion vector for each point in the lens element. Here we are going to use a normal map because this element does not dynamically change shape. I am representing the normal map in red. If we apply the normal's vector when sampling our background image we arrive at our final product, the colour of our background at any given point of our element, offset by a distortion texture. Here I am representing that with purple, this is the final value written to the lens element texture.
As a result, this element is not actually transparent. The transparency of the element is an illusion created by the context the element is presented in and the apparent distortion.
Diagram depicting space mapping from screen to element with additional distortion vector.
Implementation
The project I am implementing this in is a simple 2D pet sim. I was inspired by games like Pikmin which use water droplet elements in their UI design to capture the scale the game takes place in. I am trying to create a similar effect in this project, both to capture the scale of the pets and because they are frog. Moisture feels appropriate.
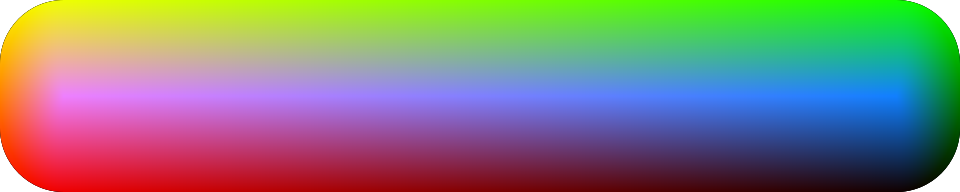
Shader graph implementation using mask instead of normal map.
Normal map, encodes surface normal.Mask, encodes a single value.
The Normal map on the left is what I originally produced for this effect. I made it using Inkscape with the rest of the graphics for the associated project. Unfortunately Godot does not support the standards required to import this graphic as a vector.
Instead of exporting the normal map as the only rasterized graphic in the project. I decided to use a mask texture instead. This mask was originally intended to create an edge highlight but we can also use it to apply our fragments distance from the centre of the element in place of our normal map look up. Which will work the same way as our normal map because our lens element is convex. Concave lenses need a correct normal map to fake distortion appropriately and a deliberate normal vector will generally produce a better effect, and be cheaper, then something derived in real time.
Final result
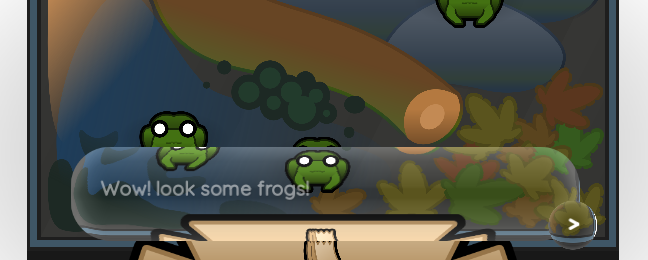
When I combine this shader with my speech bubble system we get this result. The distortion effect can be adjusted with a sacler to make it less or more dramatic and we can see how the distortion correctly handles both UI and world elements. It also works on GPU particle 2D systems, although it's ability to layer lenses is limited.
If I was going to implement this again. I would use the full normal texture and add more detail to it. While the smooth blob like distortions are appealing against complex enough background, I would like to see animated ripples in the distortion for it to feel fully liquid.
Screen grab of dialog system using the water droplet effect.